This website uses cookies and similar technologies to enhance your experience, conduct analytics, and advertise to you or others. You may manage how we collect, use, and share your personal data by clicking “Preferences”. By clicking “Accept” or continuing to browse the website, you agree to the Terms of Use and Privacy Policy .
This website uses cookies and similar technologies to enhance your experience. Terms of Use and Privacy Policy .
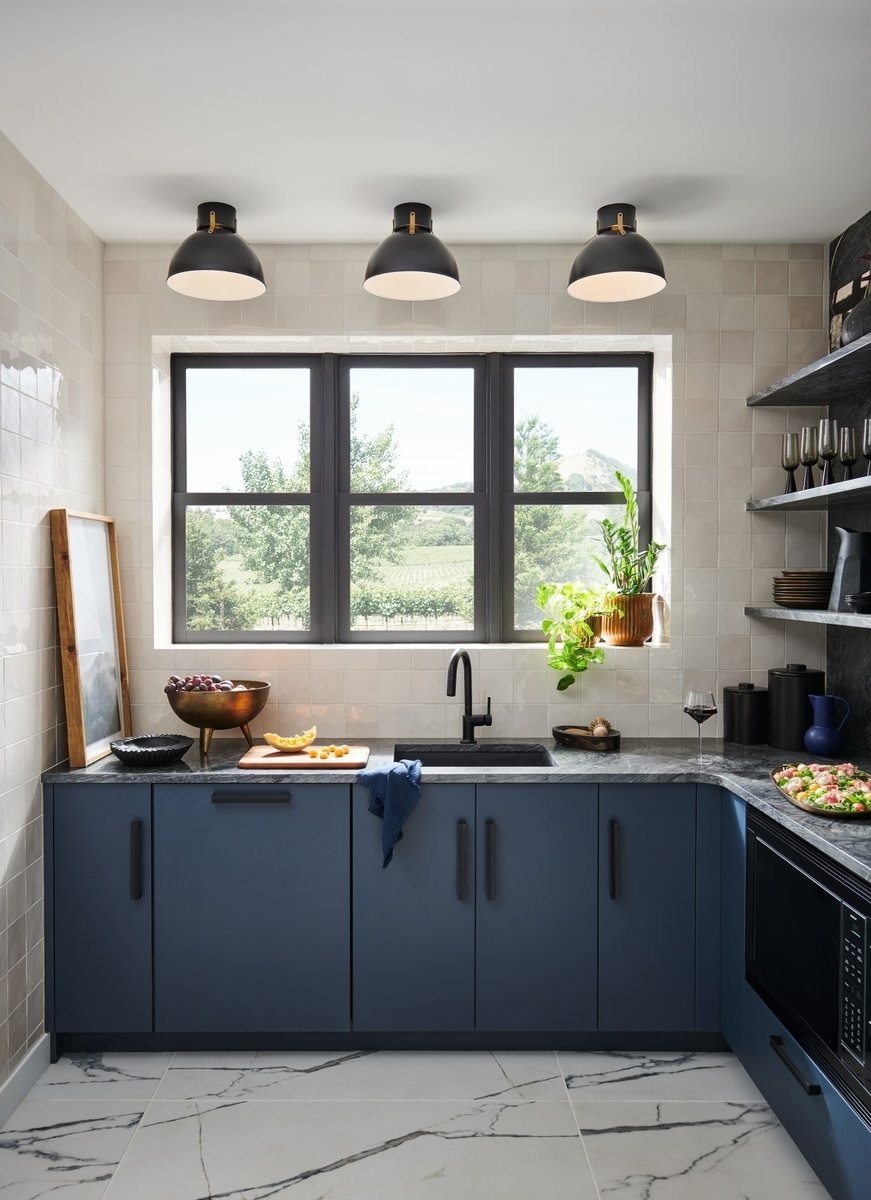
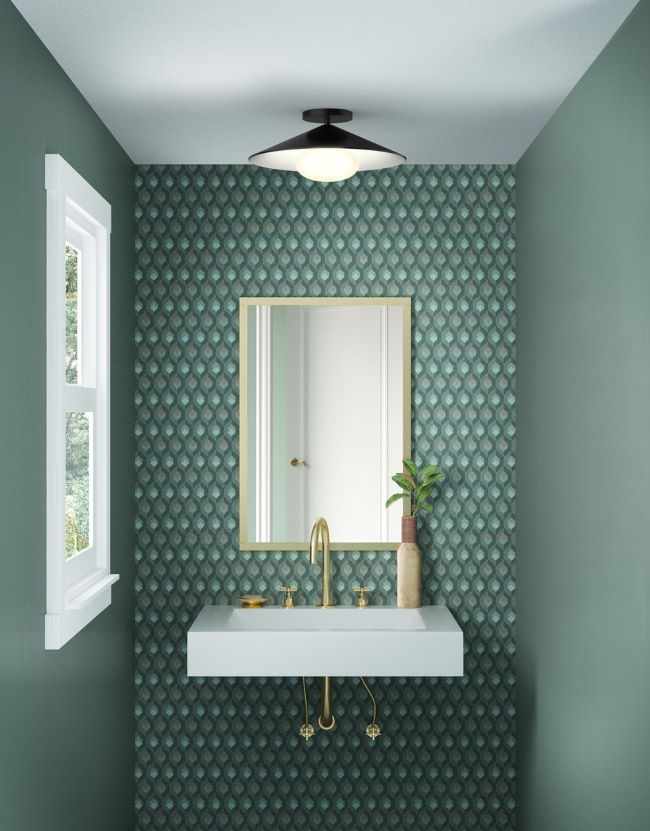
Flush mount lighting is a great way to redecorate a room. There are thousands of designs to consider, but most can be installed in a similar fashion listed below. For more detail on how to install a specific light fixture, consult the manufacturer’s instructions if available. For high-end lighting you may wish to have a professional install the fixture to prevent damage to the lighting.
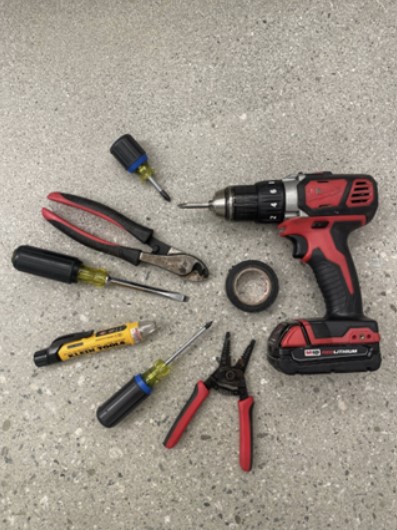
Things you will need:
1. Turn off the circuit you will be working on. It is never a good idea to work on an electrical project with the power on.
2. Remove the old fixture, if there is one. If not, pull the wiring out of the electrical box and straighten the wires. Strip 5/8 inch of insulation from the ends.
3. On a flat surface, measure the height of fixture. Adjust the threaded tube in the mounting strap to that length plus 1/8 inches.
4. Remove the screws from the electrical box in the ceiling, if present. Attach the mounting strap and threaded tube. Attach the ground wire to the green screw on the mounting strap.
5. Holding the fixture up to the electrical box, wrap the black wire to the black wire and the white wire to the white wire. Use the wire nut to join the wires.
6. Place the retaining washer over the threaded tube and thread the retaining nut over the tube until the fixture is snug against the ceiling. Some fixtures may use screws that attach to the electrical box.
7. Install light bulbs and install any decorative glass or accents as needed.
8. Turn the power to the circuit back on and test the fixture’s functionality.

Your discount code is on its way.
If you don't receive your promo code, please check your email junk or spam folder and click on "Not spam".
THANK YOU!
X