Guide On Installing Pendant Lighting
Pendant lighting is an attractive lighting fixture solution that brings the light down from the ceiling and provides better task lighting for a work or dining surface, and can also provide a beautiful layer of ambient lighting to a room. Pendant lights create a design statement as they help tie together the design elements of your room.
In kitchens, pendant lights have been referred to as the final piece of jewelry in the space. Installing pendant lighting can be a simple task depending on a few factors to consider first. For the record, most installation instructions do recommend having lighting installed by a licensed electrician. In this guide we will review standard practices, tools you will need, steps for hanging, and some frequently asked questions to understand common practices with installing pendant lighting.
Volt Detector
Measuring Tape
Screwdriver
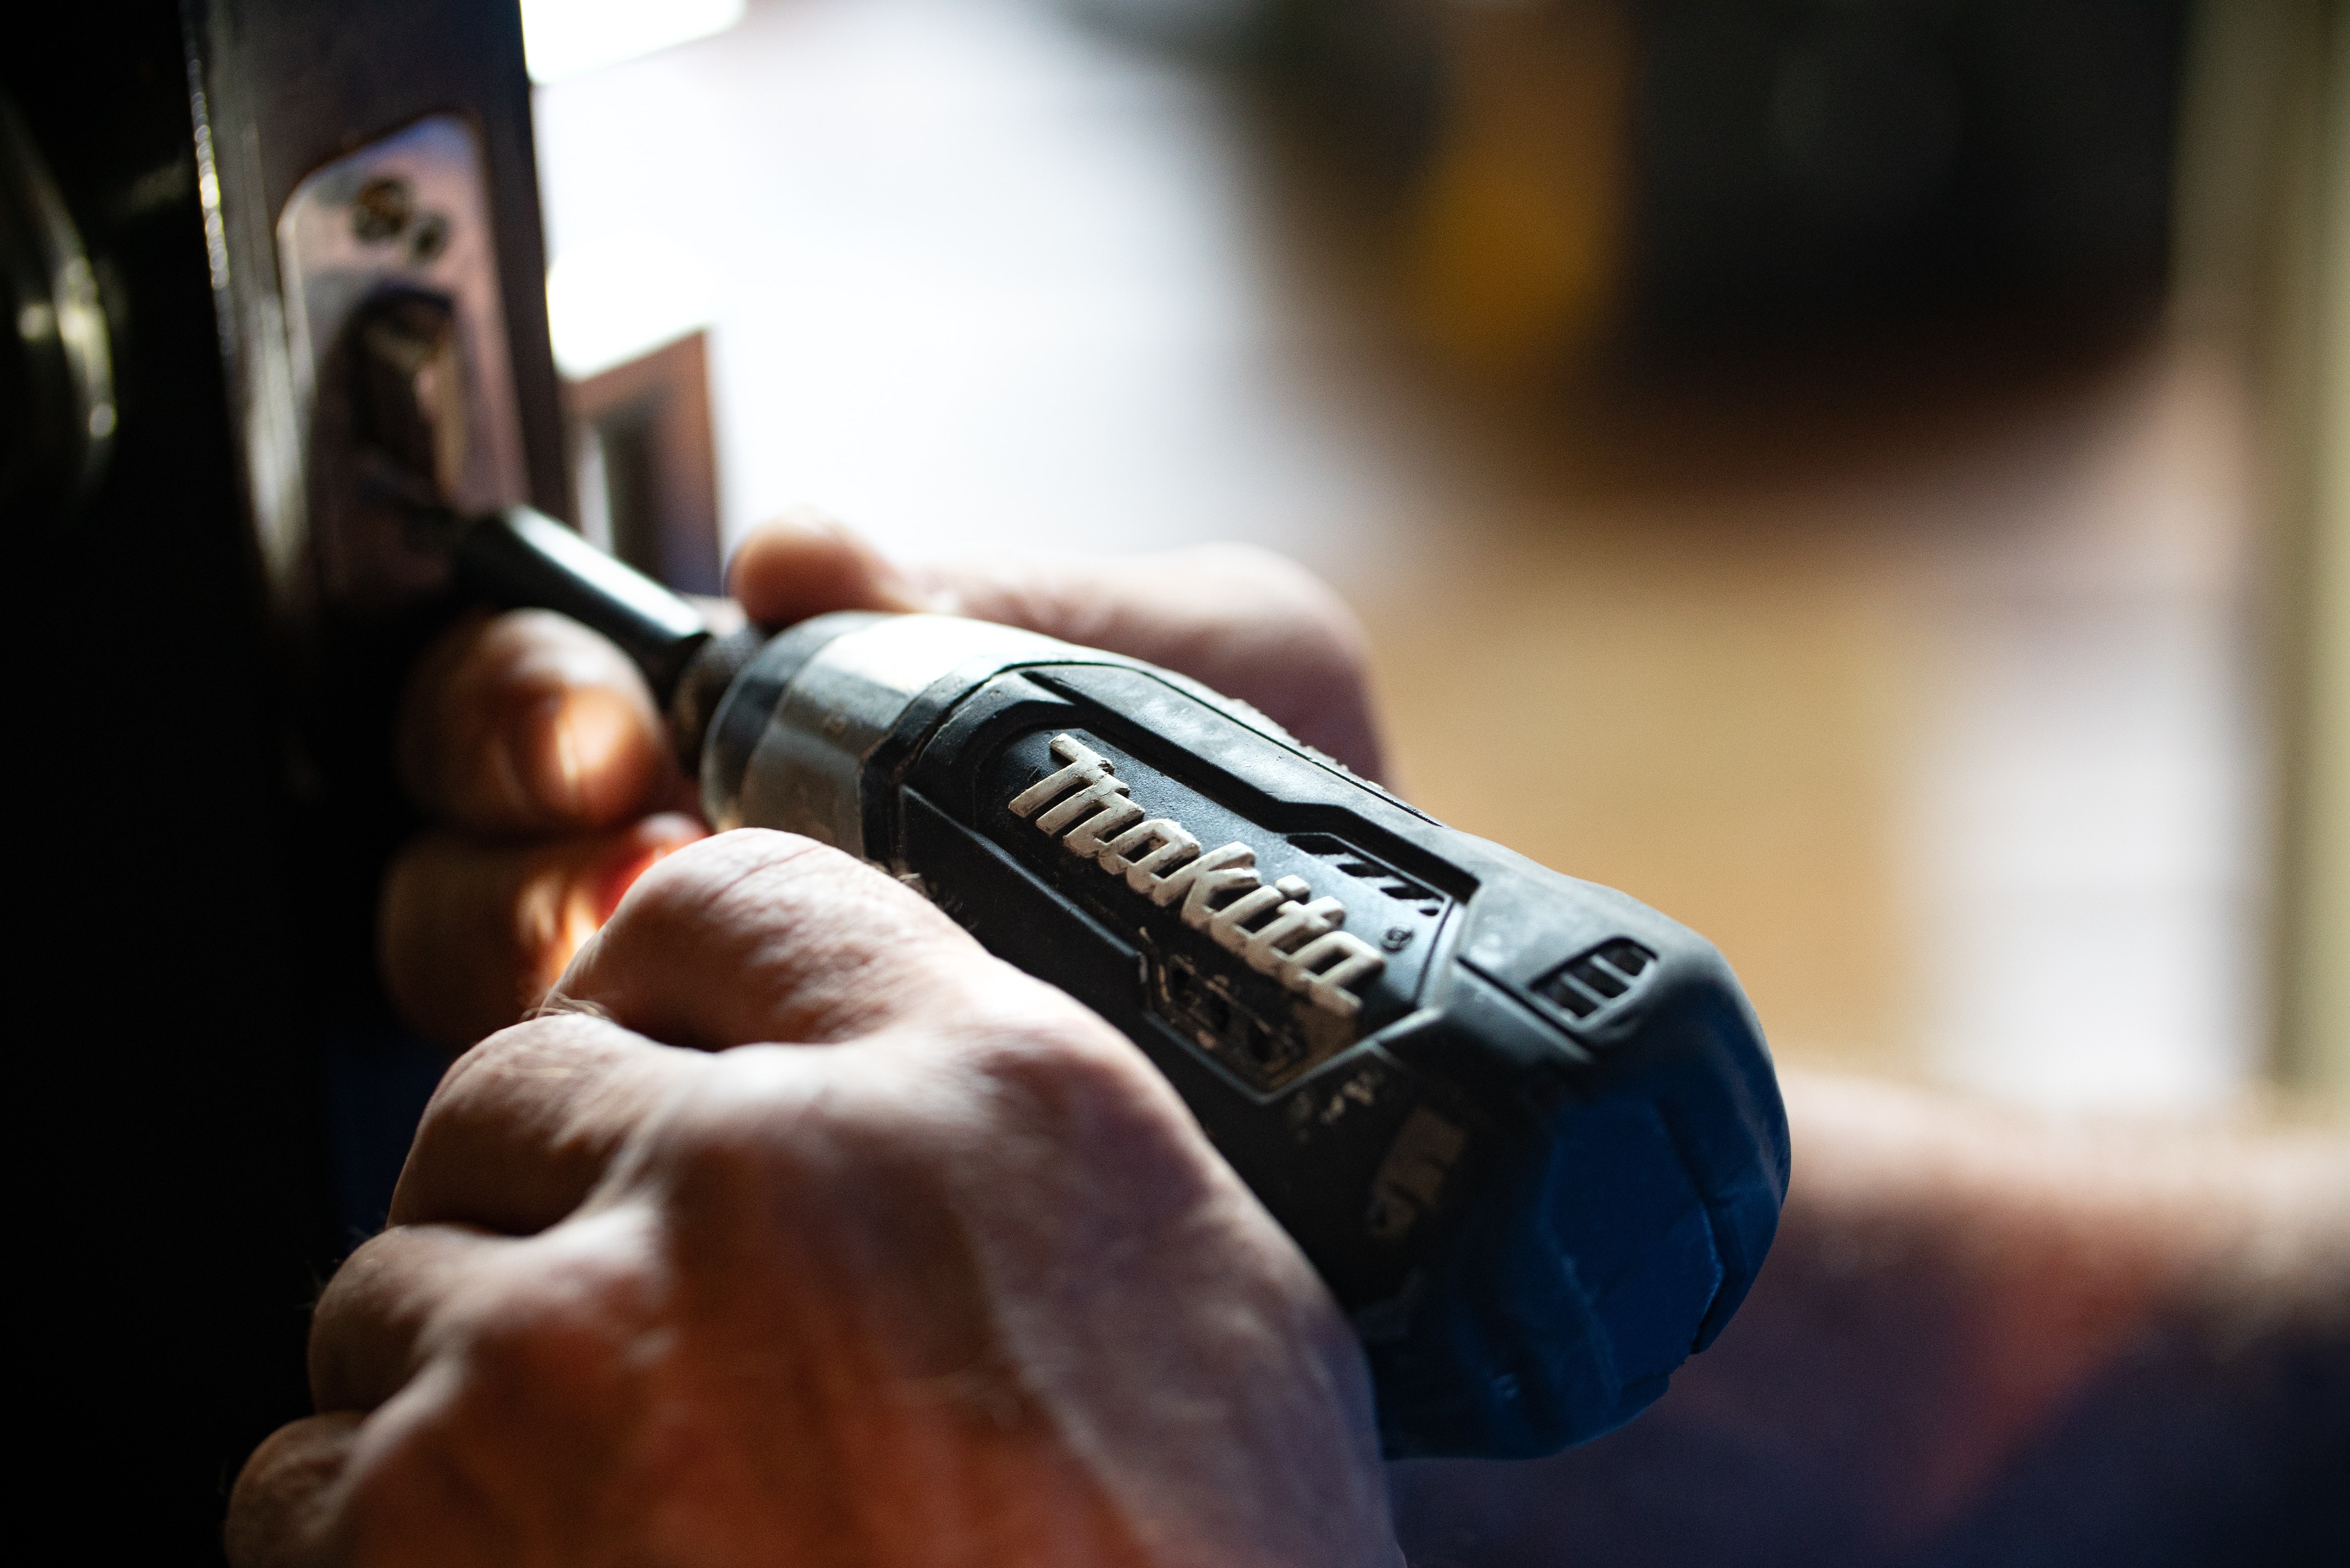
Electric screwdriver
Allen wrench set
Chain Opener (if you have a chain hung pendant)
Wire stripper
Step Stool / Ladder
Buddy (always easier with some help:)
How to Ensure a Safe Installation
- READ the instructions. This is the #1 problem with most installations. Read and follow step by step to ensure a safe and proper installation. If you have questions beforehand it’s best to call the manufacturer or Lightopia at 877-559-7516 for clarification.
- Turn OFF the power at the breaker panel or light switch.
- Test! Using a volt detector test the electrical wire of the current installed fixture and/or test the wires inside the electrical junction box. *We recommend testing your tester! Test your volt detector in a receptacle you know works, make sure the detector is turned on. As these take batteries you always want to hear a beep or see a light to indicate your tester is working on a known live wire before using it to test for your safety.
- Use the buddy system. Grab a friend, spouse, or neighbor. It’s always good to get a helping hand and another viewpoint for installation height, etc. Do not try to hold the fixture or let the fixture be supported by the electrical wires and wire nuts when you are installing, the weight should be held by another person as you are screwing in the mounting bracket.
Things to Consider When Hanging a Pendant Light
Ideal height of the fixture
Measure length of fixture & cord
Swag options
How far apart to place multiple pendants
Steps for Hanging a Pendant Light
- Read the instructions from the manufacturer from start to finish to determine whether or not you have the appropriate tools, skill, help, and knowledge to complete the installation. If not, you should hire a local electrician.
- Determine the height at which you would like the pendant to be installed. This is typically done before furniture is moved as it is easier to visualize. If you are replacing an existing fixture, confirm the height is as intended and measure the existing fixture overall length from ceiling to the bottom of the light fixture.
- Turn off the power at the breaker or switch. The breaker is preferred, however the switch can be used to turn off the power as long as you test first.
- TEST using a Volt Detector for safety. Turn off the light switch/breaker. Test your tester to confirm it is operating correctly. Then test the existing fixture or electrical wires to confirm that the electricity is turned off.
- Remove the old light fixtures ceiling canopy by unscrewing the canopy. (It’s suggested to use a mask and safety glasses to shield your face from possible dust and drywall debris.)
- Disconnect the wire connectors for the existing fixture.
- Uninstall the mounting bracket and remove the existing fixture.
- Check the overall height needed and prepare the cord, chain, or stems to the desired length.
- Install the mounting bracket to the junction box. If the screws do not align you can use a universal bracket.
- While the fixture is supported, connect the black live wire to the smooth black fixture wire, white neutral wire to the ribbed fixture wire, green ground wire to the metal ground wire.
- Install canopy to the bracket using a screwdriver.
- Test the light. If the light fixture does not work it is best to test the socket using your volt detector to confirm you have power, if there is power you may just need to get a different light bulb, if there is no power, it’s best to uninstall to start over.
- Clean up.
Three Pendant Installation Types
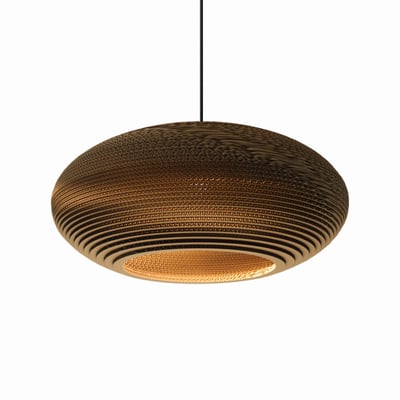
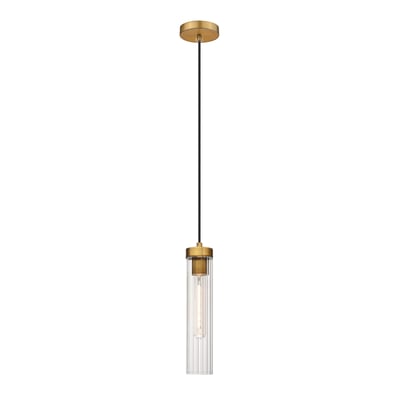
Cord mounted pendant: In this installation the electrical cord has been tested and approved to provide electricity to the fixture but also mechanically supports the weight of the fixture. This is the easiest of the three installations to manipulate and change the overall height.
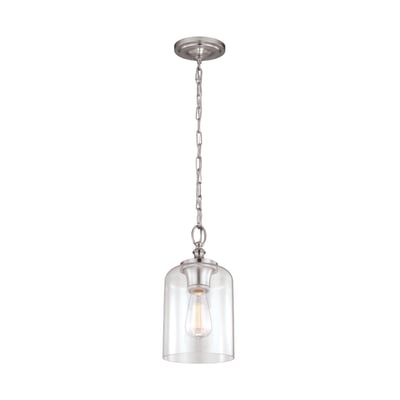
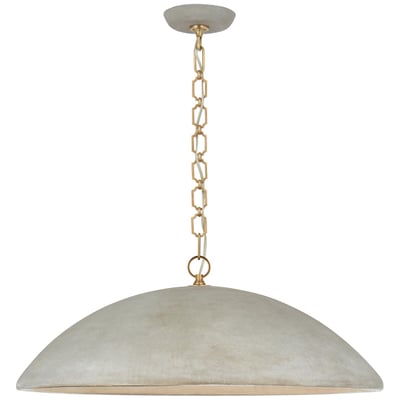
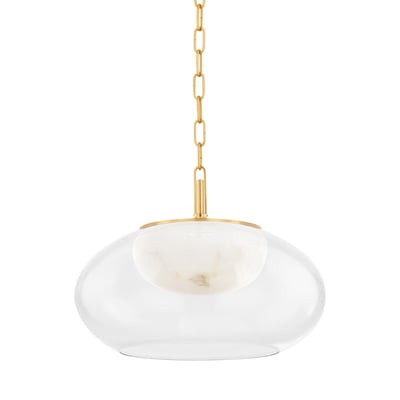
Chain mounted pendant: Chain mounted fixtures are supported by standard metal chains that can be of different gauges depending on the weight of the fixture. These chains will typically need to be shortened or sometimes lengthened depending on the ceiling height and installation preference. Chain opener pictured above or pliers can be used to open and close metal chains.
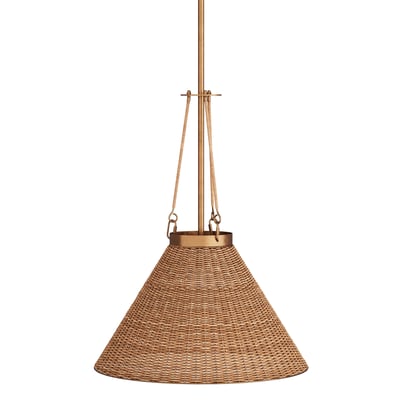
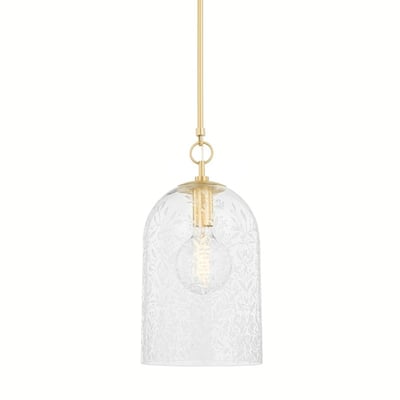
Stem mounted pendant: Stem mounted pendants or pole mounted pendants produce the cleanest of all installations as the electrical wire is hidden within the metal finished stem. Manufacturers typically include 6”, 12”, and 18” sections to utilize to get the desired length. If you require additional stem sections these can usually be ordered from the manufacturer and this should be understood prior to installation.
In What Situations Should You Consider Hiring a Contractor
- The most common reason to hire a contractor would be if you do not have any experience installing electrical lighting. There are some steps that must be followed in order to have a safe installation, primarily dealing with turning off the electricity when wiring the light fixture.
- If you don’t have help, hire some. Lighting fixtures do need to be supported when installing the ceiling bracket to the junction box and using wire nuts to connect electrical wires. It is easier and safer if you have a friend holding or supporting the light fixture as you work to attach this to the ceiling. You may be able to save money by hiring a contractor and helping them instead of paying for two contractors, however it is typically a two-person job.
- LED lighting fixtures often require wiring in a low-voltage transformer which is also fairly easy to do if instructions are followed carefully. However, oftentimes a special LED dimmer is required and we suggest hiring a contractor whenever dimmers or switches need to be replaced in your space.
- If the installation in your home or business is above a standard 8-10’ ceiling height the installation becomes much more intricate. At times, scaffolding or multiple ladders need to be used and this is best done by a team of contractors with experience.
- The weight of your fixture is something to consider when installing a light fixture. Standard junction boxes are designed to hold up to 50 pounds if they are solidly installed to the building beams. Heavier fixtures, typically over 75-100 pounds, would require additional ceiling anchors and ceiling backing to properly support the weight of the light fixture. If you have a heavier light fixture a contractor should be consulted.
How to hang a pendant light from a wall?
Hanging a pendant light from a wall is typically known as “swagging” a pendant or using a swag hook on a ceiling to swag a pendant or light. This entails getting a swag hook from a local hardware store that can support the weight of your pendant. Ideally there will be an electrical outlet close by.
- Start with the final spot you would like to have your pendant. Look straight up and mount a hook directly above where you intend to hang your pendant. This can be done easily with a laser pointer.
- Use the hook to mount your pendant at the desired height. The weight should be resting on the hook being used.
- Run the cord along the ceiling and then down the wall using a few cord stays.
- Plug the cord into the nearest receptacle and turn on!
- Adding an in-line cord switch/dimmer is a better way to control your lighting vs. needing to unplug the cord when you want to turn off.
Pendant Installation FAQ
Do I need an electrician to install a pendant light? In most cases, electrical installations are always recommended to be done by licensed electricians. For the do-it-yourself crowd, a pendant light can easily be done if you have common knowledge of tools and understand how to turn off the power.
How far from the wall should a pendant light hang? Pendants should be at least 12’ away from the wall when mounted over nightstands or other furniture. Typically pendants are hung over a table that will dictate where you want the light to hang.
How do you install pendant lights over the kitchen island? Installing pendants over a kitchen island are an incredible way to add much needed task lighting to your kitchen counter as well as creating a supportive design element in your kitchen. Follow our steps for hanging a pendant light above and make sure to hang your pendants at least 30”-36” above the countertop.
Can I hang a pendant on a sloped or vaulted ceiling? Yes. Well it depends on the type of pendant and the mounting mechanism being used. Cord pendant installations are very easy on sloped ceilings as gravity will take hold of the fixture and it will hang straight down. Chain pendants operate just like cords in that they will hang straight down, the canopy can be mounted to a vaulted ceiling with no problem. The only issue might be with stem/rod/pole mounted pendants. If the stem/rod/pole is directly mounted to the ceiling canopy at a straight 90 degree angle then this will not work. In order to work with stem/rod/pole a slope adaptor mechanism is needed so that the stem can hang straight down with an angle into the canopy.
How do I install a universal bracket? Universal brackets can be a life saver for an electrical installation. Oftentimes the canopy bracket that you are trying to install will not align with the screw holes in the junction box in your ceiling. This can be frustrating. Do not fret, there is a solution in the form of a universal mounting bracket that can be found at a local hardware store. First take the bracket and align it with your light fixture to understand which holes will be needed to accept the screws coming from the light fixture and mark them. Next you can simply mount this bracket to the junction box in the ceiling using any combination of slotted openings. *It’s best to not use the screw holes to mount this bracket! As you are screwing through this universal bracket thread and into the thread on the junction box, this is not recommended. Once you have attached the universal mounting bracket, then continue to mount the fixture to the pre-marked holes.